As I am staring out new in react development I need to get a platform setup to do the development.
I am going to be learning react with a guide located at https://reactforbeginners.com. This tutorial was recommended to me so I purchased and downloaded all the videos. I am usually not one to pay for things that I can search for and download, but it was highly recommended and after I finish with the tutorial I will post some feedback about the tutorial.
First of all setting up node.js is a requirement and since I am not one to usually trust installers, especially those that use sudo, I went for doing it manually. I am currently running OSX Yosemite and was not excited about cluttering up my PC, as many developers know, development software can make a royal mess of your PC putting files left and right.
In attempt to manually install node.js I ran into something called nvm (Node Version Manager). The function is very simple, it is a version manager and installer for node.js and can be installed without sudo and in your home directory! I had to put together pieces from a few sources so I will reference those pieces here and provide a hopefully easy to follow guide.
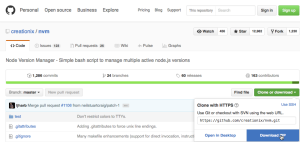
We first need to grab nvm from the github web site. The version at the time was 0.31.1. Navigate your browser to https://github.com/creationix/nvm and click on “Clone or download” then “Download ZIP”. This will place the file in your “Downloads” folder.
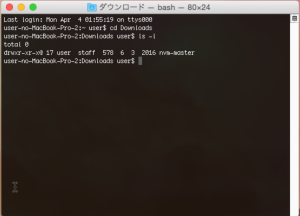
Next locate the download on your computer. In my case it was located in “Downloads”. Extract the file if it is not yet extracted. It should extract to a folder named “mvm-master”. Open up a terminal and navigate to where it is downloaded.
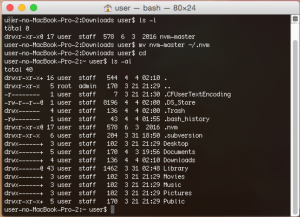
Next we are going to rename it and move it into our home folder. It will end up being installed in ~/.nvm.
mv nvm-master ~/.nvm
We are almost done setting up nvm! We have to do two more things! We need to mark the environment path script as executable and add it to our .profile file so it executes when we open up terminal!
These are the commands that we will add to the .profile file in the next steps!
export NVM_DIR=”$HOME/.nvm”
[ -s “$NVM_DIR/nvm.sh” ] && . “$NVM_DIR/nvm.sh” # This loads nvm
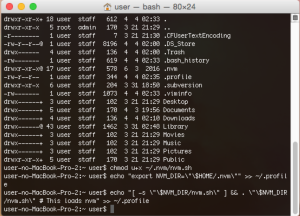
To do this execute the following three commands.
chmod u+x ~/.nvm/nvm.sh
echo “export NVM_DIR=\”\$HOME/.nvm\”” >> ~/.profile
echo “[ -s \”\$NVM_DIR/nvm.sh\” ] && . \”\$NVM_DIR/nvm.sh\” # This loads nvm” >> ~/.profile
Then we can restart our terminal session and should be able to use nvm to perform the node.js install. We are nearly done! If we reopen our terminal session nvm should now be working, without any sudo or installs! It is all self contained in its own .nvm folder!
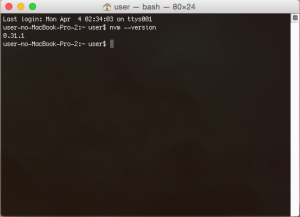
Lets check the version of nvm that we installed with the following command, it should return the version, if it does, nvm is installed correctly and we can now install node.js!
nvm –version
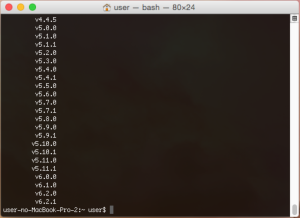
To install node.js, first decide what version we want to install, we can get a list of versions available with the following command.
nvm ls-remote
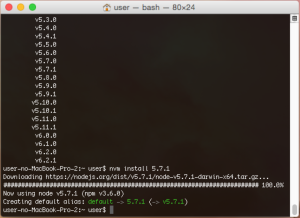
Next lets install the version asked for in the react tutorial with the following command.
nvm install 5.7.1
We can now verify node.js has been installed by checking the version.
node –version
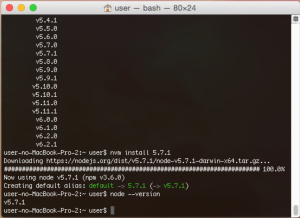
This completes the installation of node.js for the react tutorial without using sudo! We also have a nice version management system (nvm) installed. With this we can now have multiple versions of node.js installed simultaneously!
If we ever want to remove nvm and node.js just delete the .nvm folder and the additions we made to the .profile file.
